Why Explore Underwater Photography?
Underwater photography offers a unique way to explore and enjoy the submerged world. It allows you to capture moments in time, showcase vibrant marine life, and explore the beauty of coral reefs and other underwater habitats. This type of photography can be both mesmerizing and challenging, as it takes a special set of skills and knowledge to be successful.
For photographers looking to take their skills to the depths below, this guide will cover everything you need to know to get started in underwater photography. From essential equipment to proper camera settings, lighting, composition, safety, and more. You’ll also learn about different subjects to photograph and how to capture breathtaking videos underneath the surface.
With the right tools and techniques, the possibilities for creative expression through underwater photography are endless.
What is Underwater Photography?
Underwater photography is the practice of taking photos in and around bodies of water. It is both an artistic and technical form of photography, employing creative techniques to capture beautiful images of aquatic life and environments. Underwater photography has become increasingly popular over the years, as divers and photographers alike seek to explore and capture the beauty of the submerged world.
The purpose of underwater photography is twofold. First, it allows people to capture the vivid colors and textures of different aquatic scenes. Second, it provides a connection between people on land and the underwater environment that is often inaccessible due to distance, time and cost of travel. Through underwater photography, people can virtually dive into the depths of the ocean from the comfort of their homes.
Equipment Needed: List of Essential Gear for Underwater Photography
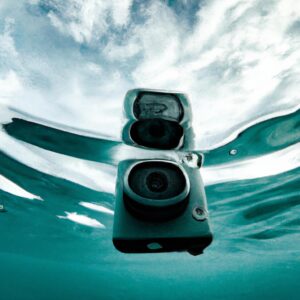
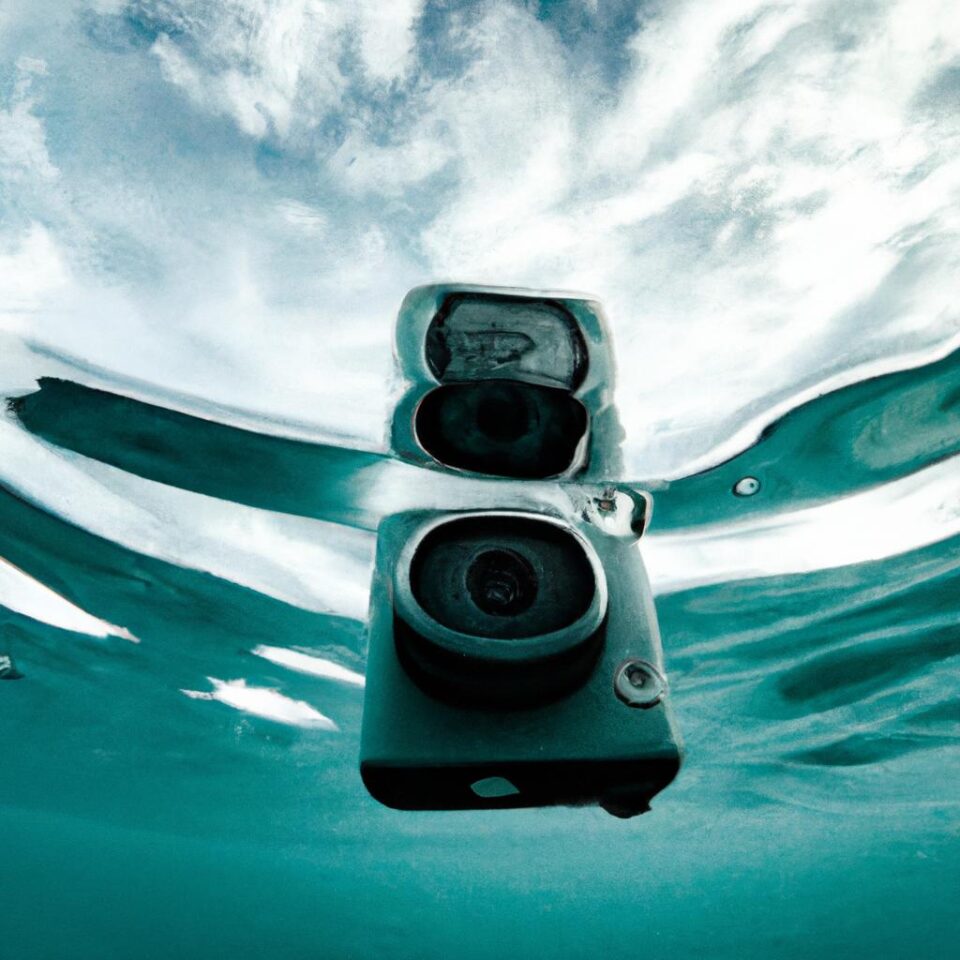
Underwater photography requires a unique set of equipment which allows you to explore the submerged world. Whether you plan on snorkeling or deep sea diving, understanding the basics of what you need will help you achieve stunning results.
Essential gear for underwater photography includes:
- A waterproof camera or housing.
- A strobe light or flash.
- A buoyancy control device (BCD).
- Mask, fins, and a wetsuit.
- Extra memory cards and batteries
- A dry bag or dive case.
- An underwater focus light.
- Make sure that you choose the correct equipment. Video cameras are specifically designed for use underwater, and will come with waterproof housings, allowing you to safely take your camera into the depths.
- Practice shooting above the surface before diving deeper. This will help you to get a feel for how the camera functions and how it responds to various settings.
- Choose the right resolution and frame rate for your videos. Different resolutions are good for different types of shots, whether you’re looking to capture a slow-moving seascape or fast-paced school of fish.
- Pay attention to lighting. The proper lighting can make a big difference in your underwater shots. When shooting in areas with low light, you may need to use artificial lights such as strobes or video lights.
- Choose the right lenses. Different lenses give you different field of views and magnifications, so make sure that you choose one that best fits your needs.
- Always wear a life vest and be aware of the waters around you. Know the dive regulations and have the proper safety gear with you.
- Be aware of aquatic wildlife and their behavioral patterns. Make sure not to touch or disturb wild animals.
- Make sure to stay within your skill level and dive only in areas where you are comfortable and knowledgeable with the environment.
- If you’re diving with others, make sure you have a buddy system and coordinate safety signals.
- Be aware of your air supply and know how long you can safely stay underwater before surfacing for air.
- The “Manta Ray and Diver” image taken by Jody MacDonald in Indonesia
- The “Under the Pier” shot by David Salvatori in Italy
- The “School of Fish” image captured by Jacob Wiffen in Papua New Guinea
- The “Octopus Underwater” photo by Diana Robinson in Hawaii
- The “Coral Reef” image snapped by Martin Strmiska in the Philippines
When you are safely equipped, you’ll be able to capture photographs of colourful fish, vibrant coral reefs and capture the magical moments beneath the waves.
Camera Settings for Underwater Photography
Underwater photography can be tricky, as you have to make adjustments to your camera’s settings in order for it to take good quality pictures. But don’t worry! It’s actually quite simple once you get the hang of it.
When shooting underwater, it’s important to keep your shutter speed low. A low shutter speed means that your camera is taking longer exposures of your image, letting more light into your shots. This is necessary because underwater lighting isn’t as bright as above water lighting. Longer exposures also help to blur out any backscatter, or tiny particles, that are in the water.
It’s also important to set your white balance correctly. Your white balance setting helps to adjust for any color cast that may be in the water. When shooting in saltwater, you should adjust your white balance to a bluer hue so that the colors in your photos look natural. If you’re shooting in freshwater, then you may want to adjust your white balance to a warmer hue.
Additionally, you’ll want to adjust your aperture. A wide aperture (small f-number) can help capture more light. A narrow aperture (large f-number) can help keep more of the photo in focus.
Finally, you’ll want to adjust your ISO to ensure that you don’t capture too much noise in your photos. A low ISO will ensure that your photos are sharp and free of any grainy noise. If you’re shooting in low light conditions, you may want to raise the ISO slightly.
By taking the time to adjust your camera settings, you can ensure that your photos will come out looking great!
Lighting: Tips for Effectively Using Lighting for Underwater Photos
Taking underwater photos is an amazing way to capture the beauty of our oceans and marine life. Achieving beautiful results requires an understanding of the physics and biology of light, however. There are several ways you can use lighting to improve your underwater photography.
Firstly, natural light can be manipulated to bring out the best in your images. When shooting in shallow waters, the sun should be at your back, and you should face your subject. This helps the light to hit your subject directly, creating a more vibrant and colorful image. You can also use natural light to highlight textures or silhouettes by positioning yourself appropriately.
Secondly, artificial lighting should be used for deeper dives. Apart from flashlights or strobes, which create blinding light and attract aquatic wildlife, you can also use specialty lighting tools such as LED lights. These tools allow you to adjust the intensity and angle of the light, so that you can create more dramatic effects.
Finally, it is important to remember the ‘inverse square law’. This law states that when the distance between the light source and the subject doubles, the light exposure decreases fourfold. So if you move closer to your subject, the light exposure will increase significantly.
These are just some tips to help you get started with lighting for your underwater photography. Experimentation is key, so don’t be afraid to play around with different angles and intensities of light to capture the best shot.
Photographing Subjects: How to Capture Aquatic Wildlife, Coral Reefs and More
If you want to take your underwater photography to the next level, capturing subjects in their natural habitat is where it’s at. Aquatic wildlife, coral reefs, and the other beautiful things that live beneath the surface of the sea are some of the most awe-inspiring photos you can take!
Wildlife can be skittish and hard to approach, so it’s important to be mindful of your movements while in the water. Most aquatic animals are harmless, but keep an eye on your surroundings and follow safety protocols for each area you visit. Be patient–sometimes it takes a while for animals to be comfortable with your presence.
When approaching coral reefs, take extra care. Corals are delicate and sensitive creatures, so never touch or disturb them. Keep a safe distance if they are close to you. Don’t move your light source around too quickly, as this can cause the corals to retract. If you do encounter any sea life, photograph them from different angles, distances, and focal lengths.
Finally, take photos at the right time of day. Natural sunlight is ideal, so plan accordingly and take advantage of the best light. You can also use artificial lights and reflectors to create dramatic light effects in more confined spaces.
Composition: Strategies to Create Visually Appealing Underwater Shots
Underwater photography can open up a whole new world of beauty and mystery, but how do you capture this breathtaking scenery in a photograph? Composition is key when it comes to taking impressive photos underwater. By following some basic composition guidelines, you can create beautiful photographs even in the most challenging aquatic conditions.
The Rule of Thirds stipulates that an image should be divided into thirds both horizontally and vertically, and the main point of interest should be placed at one of the intersections. This can be especially helpful when snapping shots of coral reefs, as the Rule of Thirds will draw the eye to the point of interest and minimize distractions.
Leading lines are also useful in underwater photography. These are horizontal or vertical lines, either natural or man-made, which direct the viewer’s eye towards the subject of the photo. Examples include vessels, divers, seawalls, and even beams of light.
Finally, framing can add an extra dimension to your photographs. This technique involves using a frame in the foreground to create a more three-dimensional feel to the shot – a shipwreck, for instance, can be framed with coral reefs or kelp forests.
By combining the Rule of Thirds, leading lines, and framing, you’ll be able to take stunning photographs even in the depths of the ocean.
Underwater Video: Techniques for Capturing Stunning Movies Below the Surface
Underwater video is an exciting way to explore the depths of the ocean and its inhabitants. With some careful planning, you can capture beautiful footage that captures the beauty and majesty of the underwater world. Here are some tips for getting started:
With a bit of practice and these tips, you’ll soon be shooting eye-catching underwater video.
Editing Tools
After you’ve taken your underwater photography, it’s time to edit and share your shots. And the best way to do this is with post-production editing software. The right software will let you enhance colors, crop images, adjust lighting, and even create stunning videos.
For basic editing, we recommend Adobe Lightroom or Apple Photos. Both of these programs have easy-to-use tools that help bring out the best in your photos. But if you’re looking for more advanced features, like noise reduction and layering, then you’ll need to invest in a professional program like Adobe Photoshop.
When it comes to creating amazing videos, Adobe Premiere Pro is the best choice. This powerful program lets you assemble video clips, adjust sound levels, add effects, and more.
Safety Tips for Underwater Photography
Underwater photography is an amazing experience, but keeping safety in mind is a must. Before taking the plunge, here are some tips to keep in mind:
By following a few simple safety guidelines, underwater photography can be an incredibly rewarding and safe experience.
Inspiration: Examples of Amazing Underwater Photos
One of the best parts about underwater photography is the endless possibilities of stunning images you can create. To get inspired, here are some amazing examples to check out:
No matter your skill level, these images are sure to inspire your own underwater photographic journey.
Conclusion
This guide has explored the mesmerizing and fascinating world of underwater photography. From exploring why you should consider this art form to understanding the right equipment, camera settings, and lighting techniques needed to capture stunning shots, we’ve taken a deep dive into the essentials of capturing the best underwater memories.
We’ve also explored how to compose attractive photographs, shoot videos, edit your photos using post-production software, and stay safe while diving. Lastly, we’ve seen some inspiring examples of underwater photography to motivate and encourage you to explore this beautiful and unique craft.
Underwater photography is an amazing way to capture stunning memories and explore the unseen world beneath the surface. With a little bit of knowledge, preparation, and practice, you can start creating your own remarkable underwater moments.
comments: 0