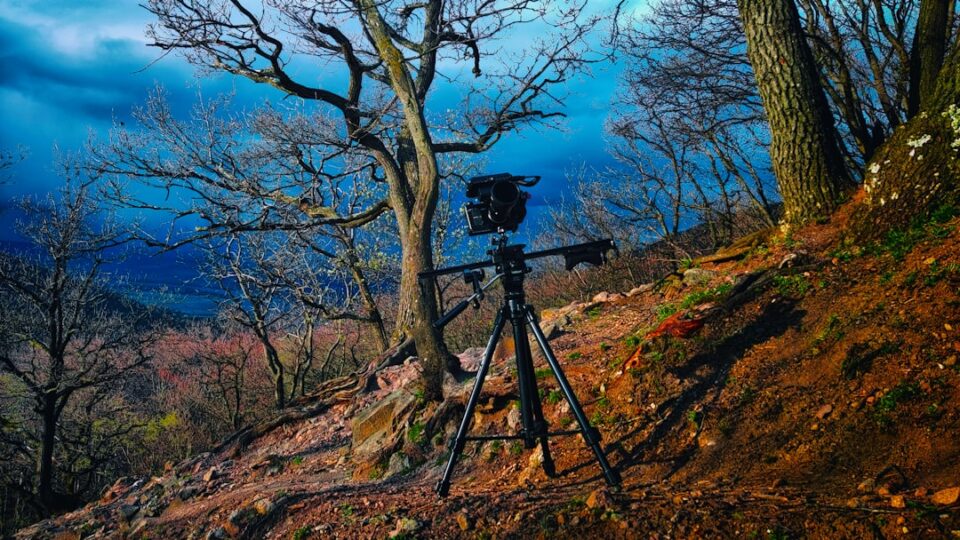
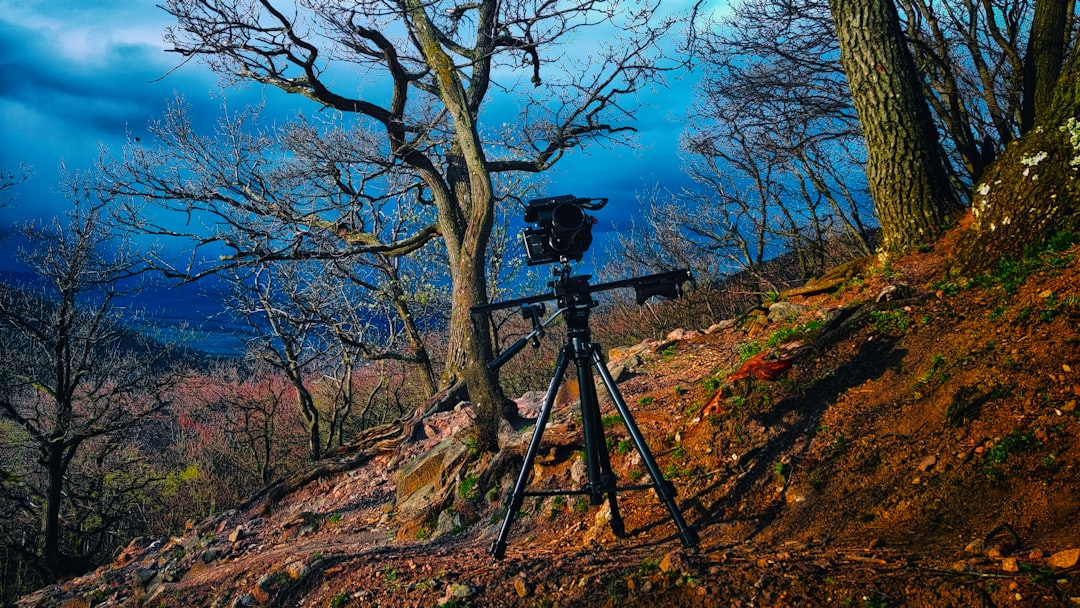
The best camera tripod is not the one with the longest spec sheet. It is the one you actually carry, set up, and trust when the light is slipping away. I have watched plenty of photographers buy a heavy, impressive-looking stand and leave it in the closet because it felt like a burden before it ever became a tool. That is the trap. A tripod should make your shooting calmer, steadier, and more deliberate, not more complicated.
If you are comparing gear and want a wider view of the tools that support real-world shooting, I keep a running library in the Photography Equipment category. That is the right place to browse if you are still deciding whether you need a tripod, a monopod, a different head, or a lighter travel setup. This guide stays focused on tripods, though, because tripod choice has a way of shaping the whole way you shoot.
What makes the best camera tripod feel different from an average one? In practice, it usually comes down to three things. First, it arrives with you more often than it stays at home. Second, it holds the frame without wobbling when you touch the camera. Third, it fits the kind of work you actually do, whether that means long-exposure landscapes, family portraits, studio still life, product shoots, travel, or video. Once you start judging tripods that way, the buying process gets much simpler.
How the best camera tripod actually earns its place
A tripod earns its place by removing friction. That sounds simple, but friction shows up in a lot of small ways. A tripod can be too heavy to carry on a walk. It can take too long to deploy when a sunset is changing fast. It can be stable enough in a living room but useless in a windblown field. It can fold up neatly and still be awkward in a backpack. The best camera tripod solves the friction that matters most for your routine.
I like to think about tripods in terms of job to be done. If your work is mostly studio and home based, you can tolerate more weight and bulk because the tripod lives in one place. If you hike, travel, or move between locations during the day, portability matters more than absolute stiffness. If you shoot video, smooth movement and a compatible head matter more than a tiny difference in leg material. A great tripod for one person can be a poor choice for someone with a different schedule and a different style of shooting.
That is why spec sheets can be misleading. A 15 pound load rating sounds reassuring until you realize that your camera kit weighs 3 pounds and the tripod itself is so light that wind shakes it. A six foot maximum height sounds generous until the center column has to be extended fully to get there, which reduces stability. A compact folded length sounds ideal until the leg locks are small and awkward with gloves on. None of these details live on a glossy product badge, but they shape daily use.
The best camera tripod also creates confidence. You stop asking whether the frame will drift while you are looking through the viewfinder. You stop bracing the camera with your hand for no reason. You start using slower shutter speeds, tighter compositions, and lower ISO settings with less hesitation. That confidence matters because gear that reduces hesitation often gets used more often. In photography, use matters more than theoretical perfection.
Start with the way you shoot, not the spec sheet
Before you compare materials or price points, ask a simpler question. What do you actually photograph most often? A landscape photographer, a street photographer, a macro shooter, and a YouTuber do not need the same support system. When I see people shop backwards, they usually start by asking for the strongest or lightest tripod they can afford. That is useful, but it is not the first question. The first question is what kind of shooting will force you to carry, adjust, and trust the tripod over and over.
For landscape work, stability and height usually matter most. You may want the tripod to hold a camera at eye level without fully extending the center column. For macro work, precise low-angle positioning matters more than maximum height. For product and tabletop work, fine positioning and easy repeatability often matter more than travel weight. For video, a smooth head and predictable movement may be more important than leg compactness. If you do a bit of everything, a balanced mid-range model usually gives better value than a specialized ultra-light or ultra-heavy option.
Try this kind of mental test. Picture a normal week, not a fantasy week. Where will the tripod actually go? Into the trunk of a car? On a flight? On a shoulder during a city walk? Up a trail at dawn? Into a studio corner and back out again only when needed? The answer should shape your decision. A tripod that is perfect for your desk setup can become a nuisance on a mountain trail. A travel tripod that feels smart in a backpack can become annoying if you shoot with a larger lens and want to work quickly.
One useful shortcut is to rank your priorities in this order. First comes stability. Second comes portability. Third comes speed of use. Fourth comes price. That order changes for some photographers, but it is a good default because a tripod that is easy to carry but fails to hold the shot is not very useful. On the other hand, a fortress-like tripod that you dread picking up will quietly disappear from your workflow. If your tripod lives in the car or studio, you can move portability down the list. If you shoot all day while moving around, portability may climb to the top.
A second shortcut is to think about your heaviest realistic kit, not your dream kit. Base the decision on the camera and lens combination you actually use most often, plus any flash, cage, or microphone setup if video is part of the job. That gives you a more honest starting point than a theoretical maximum that never leaves the bag.
Materials matter more than marketing copy
Tripod material affects weight, vibration control, cost, and the way the tripod feels in your hand. The two big options are aluminum and carbon fiber, but the story is a little more nuanced than that. The cheapest tripod in the store can be aluminum and still be fine for light use. A well-made carbon fiber model can feel noticeably easier to carry and often damps vibration a bit better, but it costs more. The right choice depends on whether your shoulders, your budget, or your shooting environment is the bigger constraint.
| Material | What it feels like | Main strengths | Main trade-offs | Best fit |
|---|---|---|---|---|
| Aluminum | Heavier, solid, straightforward | Usually more affordable, easy to find, sturdy for the price | More weight in the bag, can feel cold in winter, often less pleasant for long carry days | Studio, home use, budget-conscious buyers, car-based shooting |
| Carbon fiber | Lighter, easier to carry, more refined | Lower weight, often better vibration damping, more comfortable for travel | Higher cost, sometimes harder to justify for occasional use | Travel, hiking, frequent outdoor use, photographers who value portability |
| Hybrid or mixed construction | Varies by brand | Can balance cost and weight in a practical way | Quality depends heavily on the maker, so specs need closer checking | Mid-range buyers who want a compromise |
There is also the question of how the tripod is finished and assembled. A smooth surface does not tell you much by itself. I care more about how the leg locks feel, whether the knobs bite firmly, and whether the center column and apex feel solid under load. A cheap tripod can feel loose even if the material itself is not terrible. A better-built aluminum tripod may be heavier but easier to trust. In other words, material is important, but it is only one part of the picture.
For many photographers, carbon fiber makes the most sense when the tripod will be carried a lot. If the tripod mostly lives at home, the weight savings matter less and the extra money may be better spent on a better head or more stable leg design. That is one of those trade-offs that rarely gets said out loud in product listings. You are not buying the material by itself. You are buying the day-to-day experience of lifting, setting, and moving the tripod.
If you shoot in wet, sandy, or salty environments, think about maintenance as well. Material will not save you from neglect. Sand can work its way into leg locks. Salt spray can leave residue on joints and hardware. A tripod that gets rinsed, dried, and stored properly will usually outlast one that looks fancy but is ignored after a day at the coast. Material choice should support the environment you actually face.
Head types decide how the tripod feels in use
The legs matter, but the head often determines whether the tripod feels precise or clumsy. A good tripod with a bad head can still be frustrating. The most common options are ball heads, pan-tilt heads, video heads, and leveling bases. Each one has a different personality, and that personality matters more than people expect when they first start shopping.
Ball heads are popular because they are fast. Loosen one control, move the camera, lock it again, and you are done. They work well for general still photography, landscapes, portraits, and travel. The downside is that some ball heads can be awkward for precise framing, especially if the tension control is poor or the ball creeps under heavier gear. A better ball head solves many of those problems, but cheap ones can feel vague and imprecise.
Pan-tilt heads are slower but more controlled. They are useful when you want one axis at a time, such as in product work, architecture, or video framing. They are less popular for casual stills because they take more time to adjust, but that slower movement can be a feature when accuracy matters. If you often shoot from a fixed position and need repeatability, a pan-tilt head can be a better partner than a ball head.
Video heads are built for smooth motion. They are designed so panning and tilting feel more controlled, which is ideal for recording movement. If you do hybrid content and spend more time filming than still shooting, a video head may be the right choice even if it is not the most common option in still photography circles. The key is not whether the head is trendy. The key is whether your shooting style involves following motion or making deliberate, fluid adjustments.
Leveling bases help when you need the tripod to sit roughly level on uneven ground but still want to make quick camera adjustments. They are not for everyone, but they can save time in situations where tiny framing changes matter. For many photographers, the best camera tripod is really a good set of legs paired with a head that fits the way they think. The head shapes the rhythm of use as much as the legs do.
A quick rule of thumb for heads
- Choose a ball head if you want speed and general-purpose flexibility.
- Choose a pan-tilt head if you want controlled movement and easy axis-by-axis adjustment.
- Choose a video head if smooth motion matters more than fast repositioning.
- Choose a leveling base if uneven ground and precise horizon work are common.
The numbers that matter are not the numbers that look biggest
Tripod shopping gets confusing because manufacturers love to lead with big numbers. Maximum load, maximum height, folded length, leg sections, and weight all matter, but they matter in different ways. A thoughtful buyer looks at the relationship between them instead of chasing the largest number in every column.
Maximum load is one of the most misunderstood specs. A tripod rated for a very high load is not automatically better for a lightweight camera. A huge load rating can simply mean the tripod was tested with far more weight than you will ever use. That does not tell you how steady it feels in the wind or how fast it is to set up. The real question is whether the tripod is comfortably above your working weight, with enough margin for the head and any accessories.
Maximum height is equally tricky. If a tripod only reaches your eye line by extending the center column all the way up, you lose some stability. A better approach is to see whether the tripod reaches a useful working height with the column mostly down. The legs do most of the real work. The column is a convenience, not the foundation. If you often shoot from a low angle, the opposite is true. You may care less about height and more about how low the tripod can go without becoming awkward.
Folded length matters more than many first-time buyers realize. A tripod that seems compact in the store can become annoying in a backpack if it sticks out too far or refuses to fit into a side pocket. Leg section count also matters. More sections often mean a smaller folded size, but they can also mean more locks to open, more joints to clean, and sometimes less rigidity. Three sections can feel more stable and quicker to deploy. Four or five sections can be better for travel.
Weight is not just a number on a tag. It becomes a daily experience. If the tripod is something you carry for five minutes from the parking lot, extra weight may be fine. If you carry it for a few hours, every extra pound starts to matter. The best camera tripod for one person may simply be the one that disappears into their bag. For another person, the best camera tripod is the one that feels planted once the legs are spread.
| Spec | What it tells you | What it does not tell you | How to judge it |
|---|---|---|---|
| Load capacity | How much weight the tripod can support in theory | How stable it feels in wind or while touching the camera | Compare it to your real kit, then look for a comfortable margin |
| Maximum height | How tall the tripod can become | Whether it stays rigid at full extension | Check usable height with the center column mostly down |
| Folded length | How portable it is in a bag or case | How fast it is to deploy | Match it to your bag, car, or travel routine |
| Leg sections | How compact the tripod can fold | How many joints and locks it adds to the workflow | Balance portability against speed and stiffness |
Stability in the real world starts with the legs
When people say they want a sturdy tripod, they usually mean more than raw load capacity. They want the camera to stay put when the shutter is touched, the wind picks up, or the ground is uneven. Real stability comes from the whole design, not one marketing claim. Leg diameter, lock quality, leg angle options, foot design, and center column use all influence how steady the setup feels.
Leg locks deserve special attention. Twist locks can be quick and clean once you get used to them, but they need to feel secure and easy to service. Flip locks are easy to understand and often fast in the field, though they can catch on straps or collect dirt. I care less about which system a company calls premium and more about whether the lock feels confident after months of opening and closing. Loose, sticky, or vague locks are a warning sign.
The center column is another place where stability can be gained or lost. It is useful when you need height in a hurry, but it also raises the camera on a thinner, less rigid section of the tripod. If you want the most stable shot possible, keep the center column down whenever you can. If your tripod has a hook beneath the column, that can be useful for hanging a bag or weight in windy conditions, but only if you do it safely and only when the ground and environment allow it.
Leg angle options also matter. A tripod that can spread wide is useful for low-angle work and awkward terrain. Some models allow independent leg angles, which is a real advantage on stairs, rocks, or slopes. Foot design plays a role too. Rubber feet are good for indoor and mixed use. Spiked feet can help on dirt, grass, or rough ground, depending on the model and the surface. The point is not to chase exotic features. The point is to understand how the tripod will behave where you actually stand.
Wind is a practical test that people forget until the first time they shoot near the coast or on open ground. A lighter tripod can still work well if you keep it low, avoid full extension, and position it carefully. A heavier tripod can still fail if it is set up poorly or if the legs are not spread correctly. Stability is a system. The tripod, the camera, the lens, the surface, and the weather all matter. Good technique improves even a modest setup.
Stability checklist I use before a long exposure
- Keep the center column as low as possible.
- Spread the legs wider if the ground allows it.
- Check that every lock is fully engaged.
- Use the tripod hook only when it makes practical sense.
- Place one leg toward the subject or wind direction when the scene allows it.
- Touch the camera as little as possible after framing.
Travel tripod or full-size tripod
This is one of the most common decisions, and it is also one of the easiest to overthink. A travel tripod is built to be compact and carry well. A full-size tripod is built to feel more planted and less compromised. Neither one is automatically better. The right answer depends on how often you move, how much gear you carry, and how much patience you have for bulk.
Travel tripods are attractive because they reduce the excuse not to bring support gear. If a tripod fits in a backpack and does not feel like dead weight, it will go more places. That matters. A tripod left at home never helps you make a shot. The downside is that travel tripods often make trade-offs. They may have smaller leg sections, shorter maximum height, less robust locks, or a less comfortable working position. Some are beautifully engineered and still feel a little narrow once the camera is mounted.
Full-size tripods are usually better when comfort and stability matter more than packing size. If you shoot landscapes from a car, work in a studio, or move in a controlled way between locations, a bigger tripod may simply be easier to live with. It may not be glamorous, but it can be less annoying. I know photographers who spent years trying to make a tiny travel tripod behave like a studio support and only relaxed once they bought the right tool for the setting.
There is also a middle ground. Many photographers are happiest with a tripod that is compact enough for real-world transport but substantial enough to feel stable with a normal camera and lens. That middle ground is often where the value is. If you shoot a lot of walking travel and a lot of casual day trips, a balanced model can do more than either extreme. If you mostly use your tripod in one place, the trade-off can lean more toward stability and comfort.
| Type | Strength | Weakness | Best use |
|---|---|---|---|
| Travel tripod | Easy to carry, easier to pack, more likely to come along | Often less tall and less planted | Flights, hiking, city shooting, small bags |
| Full-size tripod | More comfortable, usually steadier, often easier to operate | Bulkier and heavier | Studio, car travel, landscapes, home use |
| Mid-size compromise | Balances carry and stability | Not the best at either extreme | Most general-purpose photographers |
If you are still unsure, choose based on the worst part of your routine. If carrying gear is the thing that stops you, move toward travel. If setup frustration is the thing that stops you, move toward a fuller tripod. The goal is not to buy the most impressive category. The goal is to buy the category that removes the biggest barrier from your shooting life.
Where to spend more, and where you can stay sensible
Budget matters, but it should not be the only thing that matters. People often assume the expensive tripod is the answer, yet the better decision is usually to spend more on the parts you touch every day and stay sensible on the parts you barely notice. A solid mid-range tripod with a dependable head often gives better value than an expensive set of legs paired with a mediocre head.
At the lower end of the market, look for honesty. Does the tripod feel stable enough for your gear? Do the leg locks close firmly? Is the head smooth enough to frame without fighting you? If the answers are weak, spending a little more is usually wise. Very cheap tripods can wobble, creep, or wear out quickly. They can still be useful in a pinch, but they are rarely the best long-term choice if you shoot often.
In the middle range, the value sweet spot often appears. You can get better materials, stronger locks, improved machining, and a more usable head without crossing into premium prices. This is where many photographers find the best camera tripod for their own routine. They are not buying a status object. They are buying confidence, repeatability, and less annoyance.
At the premium end, the money often goes into weight savings, refined materials, smoother mechanisms, and better engineering details. Those things matter if you carry the tripod often or use it in demanding conditions. If you do not, the premium jump may not change your photography very much. That is worth being honest about. A beautiful tripod that stays home is a bad investment. A slightly heavier tripod that gets used every week is a good one.
One smart approach is to divide your budget between legs and head instead of treating them as one single purchase. If your legs are strong but your head is sloppy, the whole system will feel weak. If your head is excellent but your legs are flimsy, the shot can still drift. A balanced spend usually works better than a lopsided one. For many buyers, the ideal is not the fanciest tripod in the store. It is the set of parts that feels coherent when you use it under pressure.
Setup, care, and maintenance keep the tripod useful
Even a good tripod gets worse if it is neglected. Dirt, sand, grit, and salt all wear on moving parts. Locks become gritty. Sections become harder to extend. The tripod starts to feel older than it really is. A little care makes a real difference, especially if you shoot outdoors or travel with the tripod often.
After dusty or sandy sessions, I like to extend the legs fully and wipe them down before storage. If the tripod was used near salt water, a more careful cleaning is worth the time. You do not need a complicated ritual. You need consistency. Remove debris from locks, dry the tripod thoroughly, and store it in a way that does not trap moisture. If your tripod came with a bag, that bag is useful for transport, but I would not always store a damp tripod inside it for long periods.
Check the hardware every so often. Look for loose screws, worn foot pads, and lock mechanisms that need attention. If the tripod uses twist locks, make sure they are not over-tightened or left partially engaged. If it uses flip locks, make sure they close with consistent tension. If the center column has a hook or a removable section, confirm that it is seated properly before you rely on it. These are tiny habits, but they prevent annoying surprises in the field.
Setup habits matter too. Spread the legs fully when you need maximum stability. Keep the center column low when possible. Do not extend every section unless you actually need the height. Those choices make the tripod last longer and perform better. The same tripod can feel flimsy or solid depending on how it is deployed. A photographer who learns the setup rhythm can get much more from the gear than someone who just opens everything to the maximum and hopes for the best.
If you use the tripod for video or repeated setups, mark your preferred leg spread or head position mentally or with a tiny reference mark if appropriate. Repeatability saves time. The less you have to think about the tripod, the more the tripod disappears into the workflow. That is a good sign. The best tools become almost invisible because they do the same job every time without drama.
A buyer checklist before you click buy
Before you order anything, slow down and test the tripod against your real life. A checklist sounds boring, but it can save you from the purchase that looks smart online and feels wrong a week later. The best camera tripod is not the one with the flashiest listing. It is the one that fits the camera, the bag, the terrain, and the pace of your shooting.
- Will I carry this tripod often, or mostly move it from a car or studio?
- Does the weight feel reasonable for the longest day I expect to use it?
- Does the folded length fit the bag or storage space I already own?
- Will the maximum working height feel comfortable without full center-column extension?
- Is the head type matched to stills, video, or mixed shooting?
- Do the leg locks feel confident, simple, and easy to service?
- Is the load capacity comfortably above my normal camera kit?
- Will I actually use this tripod in wind, on slopes, or on uneven ground?
- Do I need travel compactness more than studio comfort?
- Would I rather spend a little more on the head or the legs?
If you can answer those questions honestly, the choice gets clearer fast. You may realize you do not need the lightest tripod on the market. You may realize you do not need the tallest one either. You may find that a balanced mid-range model fits your routine so well that the rest of the search becomes unnecessary. That is usually what a good purchase feels like. It reduces decision noise instead of adding to it.
The right tripod should support the kind of work you already do while leaving room for the kind of work you want to do next. It should feel like a practical extension of your shooting habits, not a challenge to them. That is why the buying decision is less about chasing a perfect spec sheet and more about matching a tool to a life. When those two things line up, the tripod stops being a piece of gear and starts becoming part of your rhythm.
When you are comparing options, keep one final idea in mind. A tripod only matters when you bring it out and trust it. If it is easy to carry, easy to set, and stable enough for the scene in front of you, it will earn its place quickly. That is the real test, and it is the one worth buying for.